5+ Superb Recipes {Impress w/o Stress}
Author: Artsy Chow Roamer
5+ Superb Recipes
IMPRESS WITHOUT STRESS
Everyone should have a few go to recipes in their wheelhouse that will impress without all the stress. You know what I mean; those recipes you commit to memory because you have made them so much and you get kudos every time you set them on the table.
That is love on a plate at it’s best. Today I thought I would share five of mine with you (plus a bonus banana bread recipe I’ve added). These are tried and true and I have yet to pull them out at home or away without impressing my peeps with my fabulous gastronomic skills! 🤣😋 Ready for the how to?
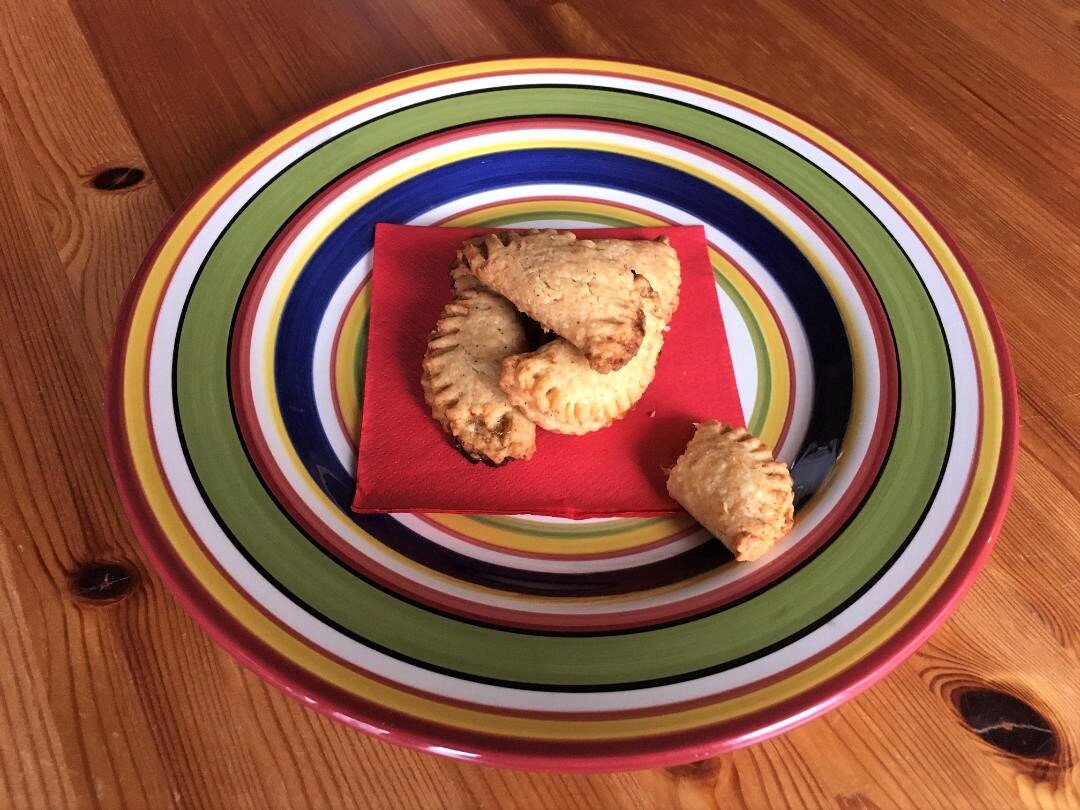
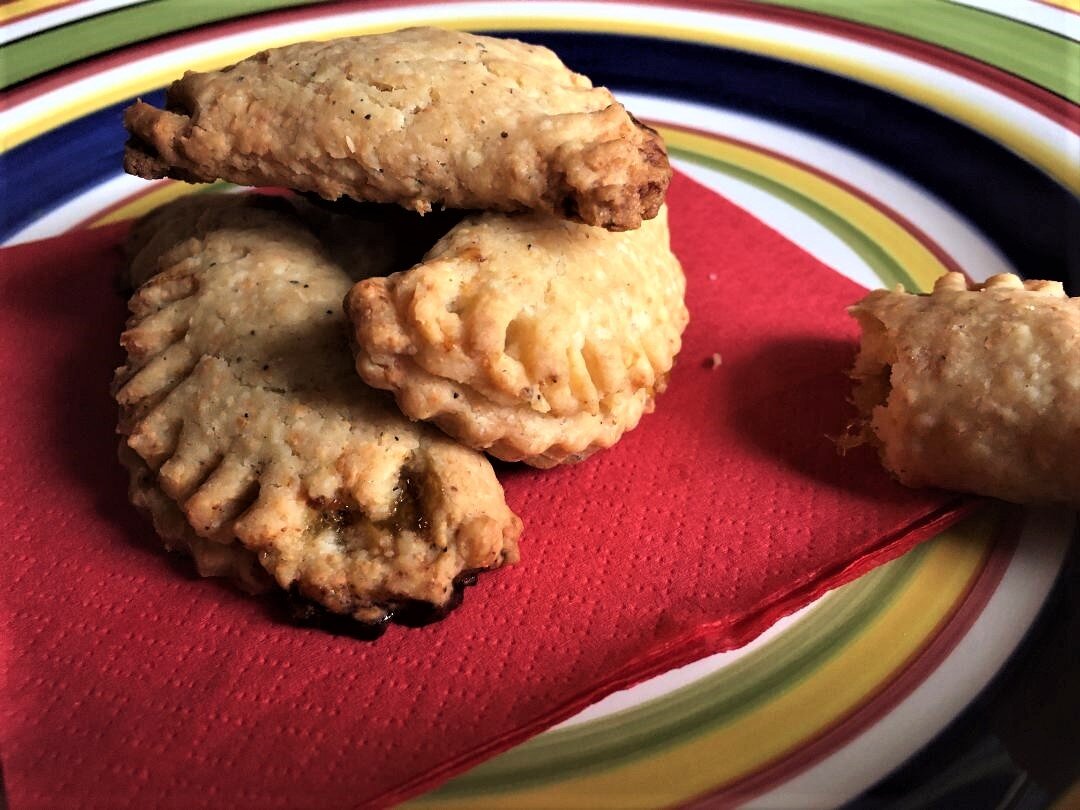
NUMBER 1-MANGO CHUTNEY CRESCENTS
While you can certainly make these with a pastry utensil, I prefer to use a food processor. Just a small one will get ‘er done. Put 3/4 Cup Flour, 6 Tablespoons of Butter, 3/4 Cup of Grated White Sharp Cheddar Cheese, 1/2 Tsp of Salt, 1/4 Tsp of Pepper and 1/2 Tsp of good quality mustard (read not American here if possible-less if not).
Give it a whirl until it makes a dough ball and stash it in the fridge for a half hour or more. Roll out to 1/8” thick and cut 2 1/2” rounds with a cookie cutter. Add 1/2 Tsp of Mango Chutney to each round, fold over and crimp edges with a fork. Beat one egg and wash the rounds. Bake for 10-15 minutes in a 400 degree oven.
These are perfect with drinks as a starter to any meal but even better when serving tropical or Indian menus. They are melt in your mouth tender and the chutney is bright with the contrast of the cheese and the mustard-BRILLIANT! I have no memory of where I acquired this recipe. Use it-cheers!
NUMBER 2-COLLARD GREENS
Yes-that is what I said! This is the recipe that changes people’s minds about a vegetable they don’t really think they like. Too many simply don’t know what to do with them.
I remember the first time I made this recipe was for a New Year’s brunch for family where I decided to do the traditional good luck thing. Imagine the joy my family displayed (especially the crumb crunchers) to learn it was greens I was serving.
I saw the tiny spoonfuls set off to the side where the expectation was not so much to eat as to simply move them around on the plate to try to fool me. My own sisters admonished their children to just to try it when they weren’t eating them either.
Then ahhhhaaaaaaaa (angels singing here) everyone tried them. The kids came back for seconds (It’s the sugar). The adults said “Oh my….I have never had collards like these; where did you get the recipe”?
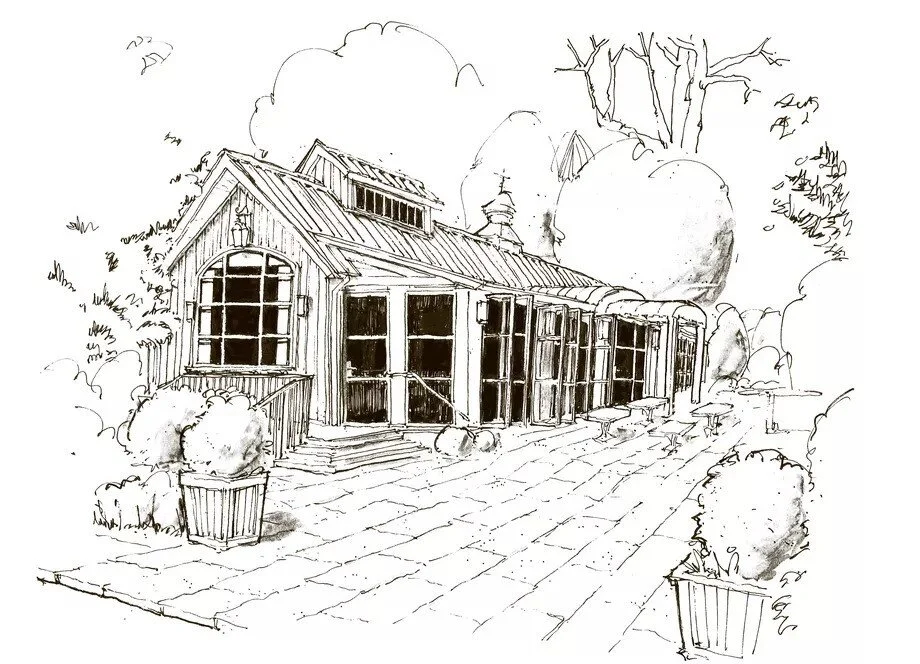
Out of a magazine article….supposedly based on recipes from the menu at Pittypat’s Porch here in Atlanta…you know from Gone with the Wind? All I remember is the Chef was African American and said it was how her grandmother made them.
I cheat and buy the bagged so I don’t have so much washing and trimming to do. You still need to pick or cut off the fat pieces of stem-they will never get tender enough. I put two tablespoons of butter in my dutch oven pan and dice half an onion, salt and pepper to taste and cook until softened.
I add a ham hock and about two cups of chicken bouillon to the pot. I put a shake or two of Tabasco in with a good pinch of red pepper flakes and a generous shake round of garlic powder and let that ham hock cook for about an hour or so.
I start adding my greens, letting them cook down until I can get both bags of greens into the pan. Than I salt and pepper to taste again and add bouillon as necessary. You want to keep them saucy like; the “liquor” it makes is the good stuff.
The secret ingredient added at this point is about 3/4 of a tablespoon of brown sugar. This makes all the difference in the world to offset the bitterness that seems to turn people off on any kind of greens. The heat from the pepper flakes and Tabasco add a warmth to the back of your throat; perfect with a big bite of cornbread.
I cook my greens for several hours-I want them to melt in the mouth. If you want them sturdier-cook them less. I cook with my eyes and taste more so than a recipe. I can usually tell what I need to adjust especially after cooking it the first time. Try it-you’ll like it and so will your peeps! 😍
NUMBER 3-GRITS
If you read my blog, you know that I have written about grits before. I am a big fan of Scott Peacock and his good friend and sidekick Ms. Edna Lewis who sadly has now passed away. Over the years I have used their cookbook together to the degree that it is falling apart.
They were the ones that got me back to cooking from my Southern roots instead of always looking to other types to impress and win friends. Scott is the one who really started bringing grits back to the forefront by offering them with dinner as a Chef at the famous Horseradish Grill in Atlanta.
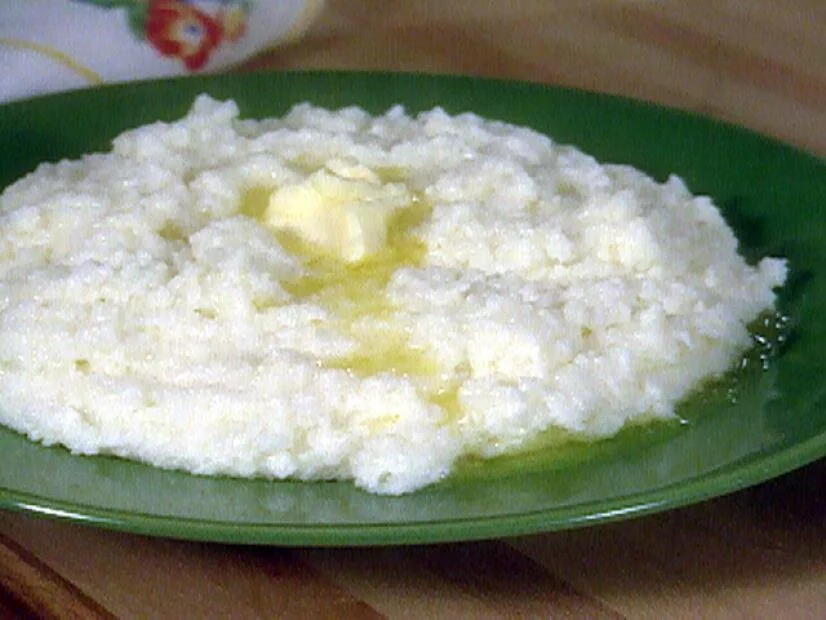
I would say grits are about kind and technique more than anything else. Most swear by stone ground only. I like them but I can also make them from the box-even the so called 5 minute ones. Let me just say-no grit has ever cooked in five minutes.
Thus the reason most will say they don’t like grits. Cause they are grainy and tasteless. Someone didn’t know how to cook them. Never use water-milk only. Since milk scorches easily, you must become a whisk welding pot watcher for the entire 20-30 minute session.
If you do this and constantly stir them, add salt and pepper to taste with a tablespoon or two of butter, they will be light, creamy airy grits with flavor. Want to add something? Ms. Edna advised people should just leave grits alone. 🤣
I say add a handful of shredded sharp cheese for those who still can’t appreciate them without it. Serving with dinner? Add some savory herbs or an ingredient from your meat that will marry the two together. Got an Italian thing going on? Treat them like polenta and add some Parmesan.
You get the idea. Now go out and get your grits on-you’all come back now-ya hear me?
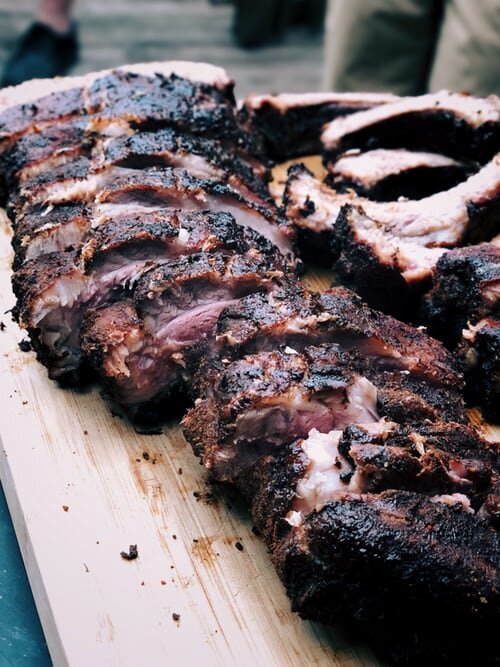
NUMBER 4-BBQ RIBS
I give all the credit here to Alton Brown-he is pretty much who I want to be when I grow up. That quirky weird science way of ‘splaining food stuff is how I learned to cook meat low and slow. Which is pretty much what you want when it comes to fall off the bone baby back ribs. 💯🙌
First, you take your rack of ribs and wash them down good and dry them well. This is important-on the back you want to take a paper towel and grab the edge of the sheet of what looks like whitish fat. Pull it back and pull the whole thing off.
It is muscle that you don’t want spoiling your tenderness. It is greasy-hence the paper towel. Keep at it until you get it off! Now rub those ribs down on both sides with olive oil on double thick sheets of aluminum foil set on a sheet pan.
Now comes your dry rub. You make it yourself. You will add two Tsp each of white or brown sugar, chili powder and salt to a small bowl. You will add one Tsp each of black pepper, garlic powder, onion powder, cumin, dry mustard, paprika and hot paprika. If you like it spicier-add 1/8 Tsp of cayenne pepper as well.
Mix well. Spread evenly over front and back of ribs and leave them bone up and meat down to start cooking. Wrap up folding the top and ends down well for no escaping of juices. It sometimes will leak which is why we are using a sheet pan. Here’s a video for you with Alton Brown’s rub recipe.
Alton taught me the science of ribs
Pop in to your preheated 250 degree oven for about 5 hours. No peeking or checking necessary. Pull out and carefully unfold top and add a good pour of your favorite sauce. You can make it or buy it-I buy it. Refold and put back in for another hour.
Remove and put on a platter carefully and add warm sauce on the side for anyone who wants additional. These ribs are so perfect-you will be the star of the party. Don’t want ribs? Make it a shoulder and pull apart with forks for sandwiches. Say after me-low and slow-low and slow….
NUMBER 5-MAC N CHEESE
I go back to Scott Peacock and Ms. Edna again for this fabulous recipe. Number one because it is easy and does not involve making a rue which is intimidating to some folks and time consuming as well. Secondly, because it is luscious and creamy and turns out that way every time.
I am giving you his recipe that I halved and sort of halved again in order to make a smaller size that is perfect for two. Should you want his larger recipe, click on the link above. The cookbook is on Amazon and the recipe is out in Google land.
I take 3/4 cup to a cup of elbow macaroni and cook it for 10 minutes. I drain it well and add it to a small casserole dish. I cut up 2-3 ounces of cheese into small cubes and add it to the hot pasta in the dish. You can use what you want. Scott uses extra sharp cheddar. I have too but I have also used Gruyere or a spicy jack mix-both turned out wonderful.
Now you are going to make a custard by putting about 3/4 of a Tblsp of flour, 1/2 Tsp of salt, pinch of black pepper and cayenne pepper, a dash of nutmeg and 1/2 teaspoon of dry mustard into a mixing bowl and whisk together. You can also use a good wet mustard if you prefer.
Add a little less than 1/4 cup of sour cream, 1 egg, a tablespoon of grated onion or just a good sprinkle round of onion powder and a 1/2 cup each of heavy whipping cream and half and half cream. Add a good dash of Worcestershire Sauce and 2 ounces of grated extra sharp cheddar, mix and pour over pasta.
I add browned bread crumbs to the top with a a sprinkle round of paprika to make it pretty. This bakes at 350 for about 30 minutes and than sits for another 10 to set up. This is smack your grandma good and family and friends will want seconds for sure!
+ PART-BANANA BREAD RECIPE
This makes a perfect small loaf for two. The bread is moist due to buttermilk and oil and rich with banana and nut flavor. You won’t be disappointed.
1 Large Banana-Smashed
Add:
1/2 Cup Brown Sugar
1 Cup Flour
1/2 Tsp Baking Soda
1/4 Tsp of Salt
1 Egg
1/4 Oil
1/8 Cup Buttermilk
1/2 Tsp Vanilla
1/2 Cup Chopped Walnuts
Optional: I add a couple shakes of Cinnamon and a splash of sweet Austrian or Czech Rum. The addition of these two make it more like a dessert as well as a breakfast bread. This cooks at 325 for thirty to forty minutes. Check at 30 and if top seems done to a touch take it out-if it still looks a tad squishy give it another 5-10 minutes and check again. Put on a cooling rack and then remove from the pan.
Peacock makes the best biscuits
Just for the heck of it I included this video I found with Scott Peacock showing you how to make biscuits. This is one of his all time talents and I turn to his recipes time and time again to make anything Southern. Scott has a biscuit thing he is doing at his home in Marion, Alabama and I plan on paying him a visit to learn in person just how to make his kind of biscuits! 😋
CONCLUSION
Well, these are the 5+ recipes that I had on my mind this week and thought I should share so you could impress without the stress yourself! I have been on a country cookin’ streak for a bit now. I didn’t get around to giving you a cornbread recipe. My Mom’s is one of my favorites but I’ll save that for another blog.
I hope you will try all of these and give me some feedback on what you thought. If you like what you read, you might also enjoy other blogs under Edible Fare. Hey, don’t be a stranger! Reach out and ask me anything OK? Until next time…
Cheers,
ArtsyChowRoamer
Follow me on You Tube, Facebook, Pinterest, Instagram & Twitter
TO MY READERS: This post was updated with pics, info, recipes and upgraded content 7/9/2020
Edible Fare
If you like what you read, click on the button below!
Why? You’ll get a recipe for duck bacon which will impress anyone you serve it to plus other great stuff I promise you’ll want!


