The Craft behind Slow cooked Ribs
Author: ArtsyChowRoamer
There is Craft
IN SLOW COOKED RIBS
“You learn a lot about someone
when you share a meal with them”
Chef – Anthony Bourdain
I thought it was time to do something on food and I really hoped I would have a great restaurant review for you this month. After a two month break on writing new content to take advantage of quarantine time and work on my website, I am back, but still squeamish about going out to eat.
I thought some of you might be too so what was the point of writing up a restaurant we may not be able to visit right now? Since we all are cooking more at home, I tried to think of what recipe was in my go to box that you might enjoy the most with the dog days of summer coming to an end. 🤔 Hmmmm….tap tap tap as I think.
Then viola! 🙌 I got it! Ribs; slow cooked, falling off the bone and sauce rich Southern ribs. What’s not to love? Ready to dig in to this post?
INSPIRATION FROM TWO CHEFS
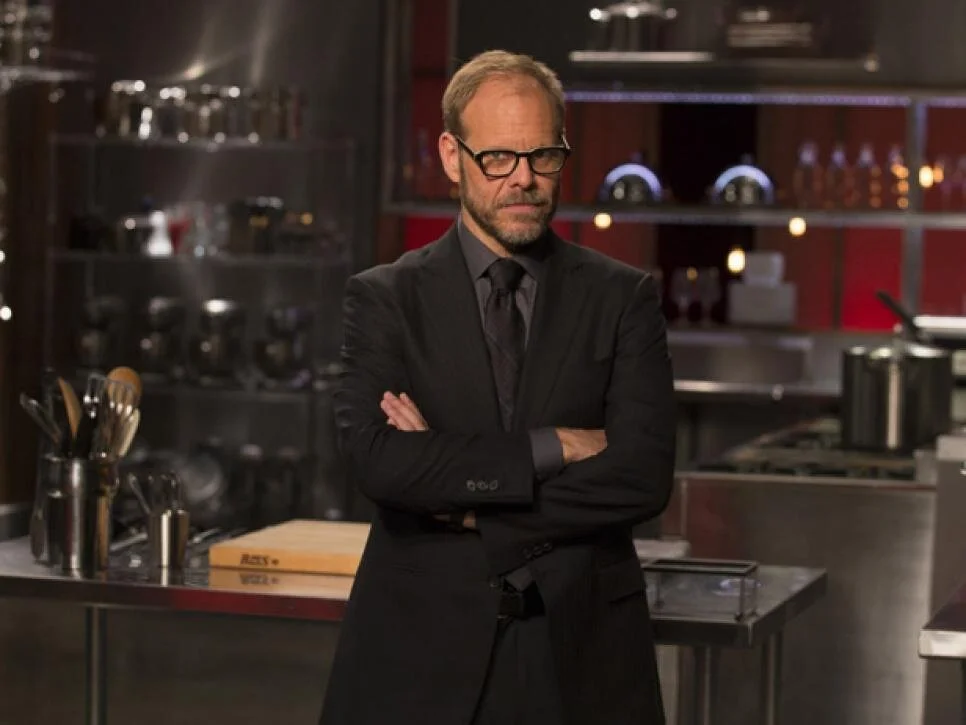
Two chefs I have watched the most and learned a lot from these past years are Anthony Bourdain and Alton Brown. I miss the former more than you could ever know.
Not just for his capabilities in the kitchen but for his genuine curiosity about travel, other cultures and what they eat. If you are a foodie, a critic or a traveler it is likely that Anthony’s work has impacted your life-the man who ate and drank his way around the world.
Of the many quotes attributed to him I like that he said in part “Cooking is a craft…and a good cook is a craftsman…Practicing your craft in expert fashion is noble, honorable and satisfying”. That’s how I like to think about it too.
It was Alton Brown’s quirky science-based cooking show that taught me the craft behind perfect ribs. Low and slow is rule number one. Alton can better explain the process of exactly what happens to meat on the bone that is given the time to slowly cook to perfection.
But I got it. He didn’t have to ‘splain it to me twice. I have used the technique for just about every other kind of meat there is. Alton can pretty much explain any cooking technique with humorous videos to go along.
THE COOKING TECHNIQUE
A slab needs to cook at 250 degrees for about 4.5-5 hours with a dry rub in double foil on a sheet pan. Then you open your pouch and pour on your favorite sauce-bought or made. Either choice will work. Return it to the oven for another hour. Woof! You got yourself some pretty gosh darn good eats. For those who grill, I am sure you will figure out how to adapt this recipe.
THE PREP DETAILS
Now of course the secret is just as much in the prep and dry rub as it is in the above cooking technique. The long low heat mixes with the fat and flavor coming from the bones and the olive oil you rub in well on both sides.
Accent that with all the flavors in the rub and a complex scientific thingy happens that gives you that perfection at the end. As I said Alton ‘splains it better but I know it works and I don’t ever make ribs without somebody asking me for the recipe.
Let me back up here just a bit and say that you can buy most any slab of pork ribs. The most recent I cooked was a St. Louis style rack.
They use this cut in barbecue competitions often because the cutting away of the sternum bone, tips and cartilage create a more rectangular presentation style. They eat just as good as baby backs and you can pick either one.
After you open the ribs, give them a good wash off and dry well with paper towels. Have your sheet pan out and lined with the long layers of foil so you can lay them out bone up for prep. You will notice a whitish membrane called silverskin running down the length of the slab.
You want to take a paper towel and grab that skin and peel it all the way off. It gets slippery and isn’t always easy but it’s a must. If you leave it on then your rub and flavors can’t penetrate the ribs.
Once that is off, take a bottle of EVOO (Extra Virgin Olive Oil) and generously pour across the bone side and rub it in well.
Flip the ribs and do the same on the meat side. Generous means several tablespoons. Now we want to let that sit on the ribs a bit and it is the perfect time to pull out your ingredients and make the rub.
THE RUB
Most people in competitions will tell you dry rubs are the way to go. Trying to add sauce early in the process is the wrong way as it will burn before the ribs are done.
Rub is the best way to impart your flavor as the meat slowly tenderizes. Everybody has their own secret recipe and it also has to do with where you are from. That is also true of the flavor of the sauce; North Carolina is not the same as Texas is not the same as Georgia.
We don’t lean sweeter or more vinegary in this part of the country so this recipe will impart a smokier underlying flavor with heat and it also depends on the type of sauce you buy or make.
The nine ingredients in my rub are: sugar, chili powder, salt, pepper, hot paprika, garlic powder, onion powder, ground cumin and dry mustard. After you try this once you may decide to change up quantities and adjust to your taste.
For one slab I use one teaspoon of each ingredient except for sugar and chili powder. Sugar gets two teaspoons and chili powder gets three. Mix all together well.
Sprinkle half on the bone side and lightly rub in to mix with the oil. Flip and do the same on the meat side. Wash your hands well and make a pouch from your layers of foil by bringing up the ends and folding down to the ribs. Fold along the sides too.
You don’t want any leaks and you want to do it neatly so that when you pull the ribs out to put the sauce on it will be easy to refold again for the last hour of cooking.
THE FINISH
As I state above you will preheat your oven to 250 degrees and slide that sheet pan onto the lower rack of your oven. Close the door and don’t peak. No reason to as you will just let heat escape.
Let them do their thing for about 4.5-5 hours. Then pull them out and carefully unfold your top and a portion at the sides just enough to allow you to pour on your favorite sauce-home made or store bought-your choice. Don’t let the juices flow out-this step is critical!
Refold the pouch and slide back into the oven for another hour. Take them out, open the pouch (careful-don’t get steamed) and slide a large spatula under them to place on a platter or board for serving.
Remember these will be falling off the bone-be aware so you have a good presentation. You can heat more sauce and place on the side for anyone who is a greedy saucer. You can also add the juices from the foil pack.
Serve them up with your favorite Southern sides. I have to have deviled eggs, beans and coleslaw when I serve mine but many prefer fries or potato salad with corn and/or dill pickles. Congrats! You just made yourself a mess of good eats. Enjoy a little video Alton did on baby backs below.
CONCLUSION
I think you can see from this post why these ribs are such a favorite of my family and friends. It’s easy and flavorful and they always come out right.
This recipe will net you ribs that look and taste like the best ones you ever had in a restaurant. Since we aren’t entirely sure when that might happen again, go buy yourself a slab and give it a try. You won’t be disappointed but you will have to share!
If you like what you read you might also enjoy other posts under Edible Fare and Explore the World. Let me hear from you if you try the ribs. Tell me how they turned out for you. Until next time…
Cheers,
ArtsyChowRoamer
Follow me on You Tube, Facebook, Pinterest, Instagram & Twitter
TO MY READERS: This post originally appeared in a shortened version in my column, The Curious Corner, for Smoke Signals newspaper.
Food
If you like what you read, click on the button below!
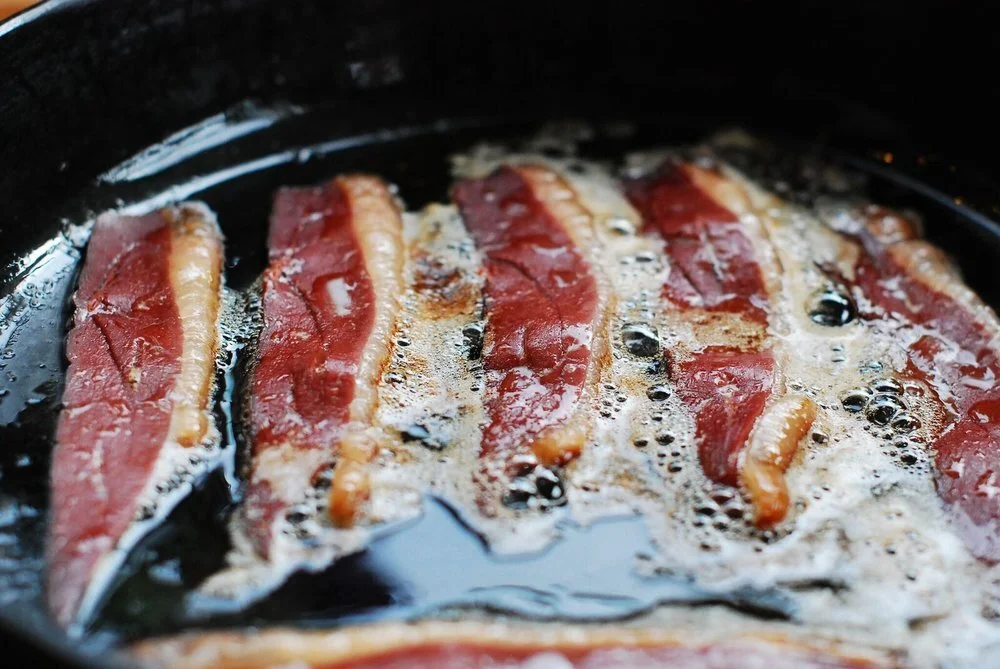
Why? You’ll get a recipe for duck bacon which will impress anyone you serve it to plus other great stuff I promise you’ll want!


